

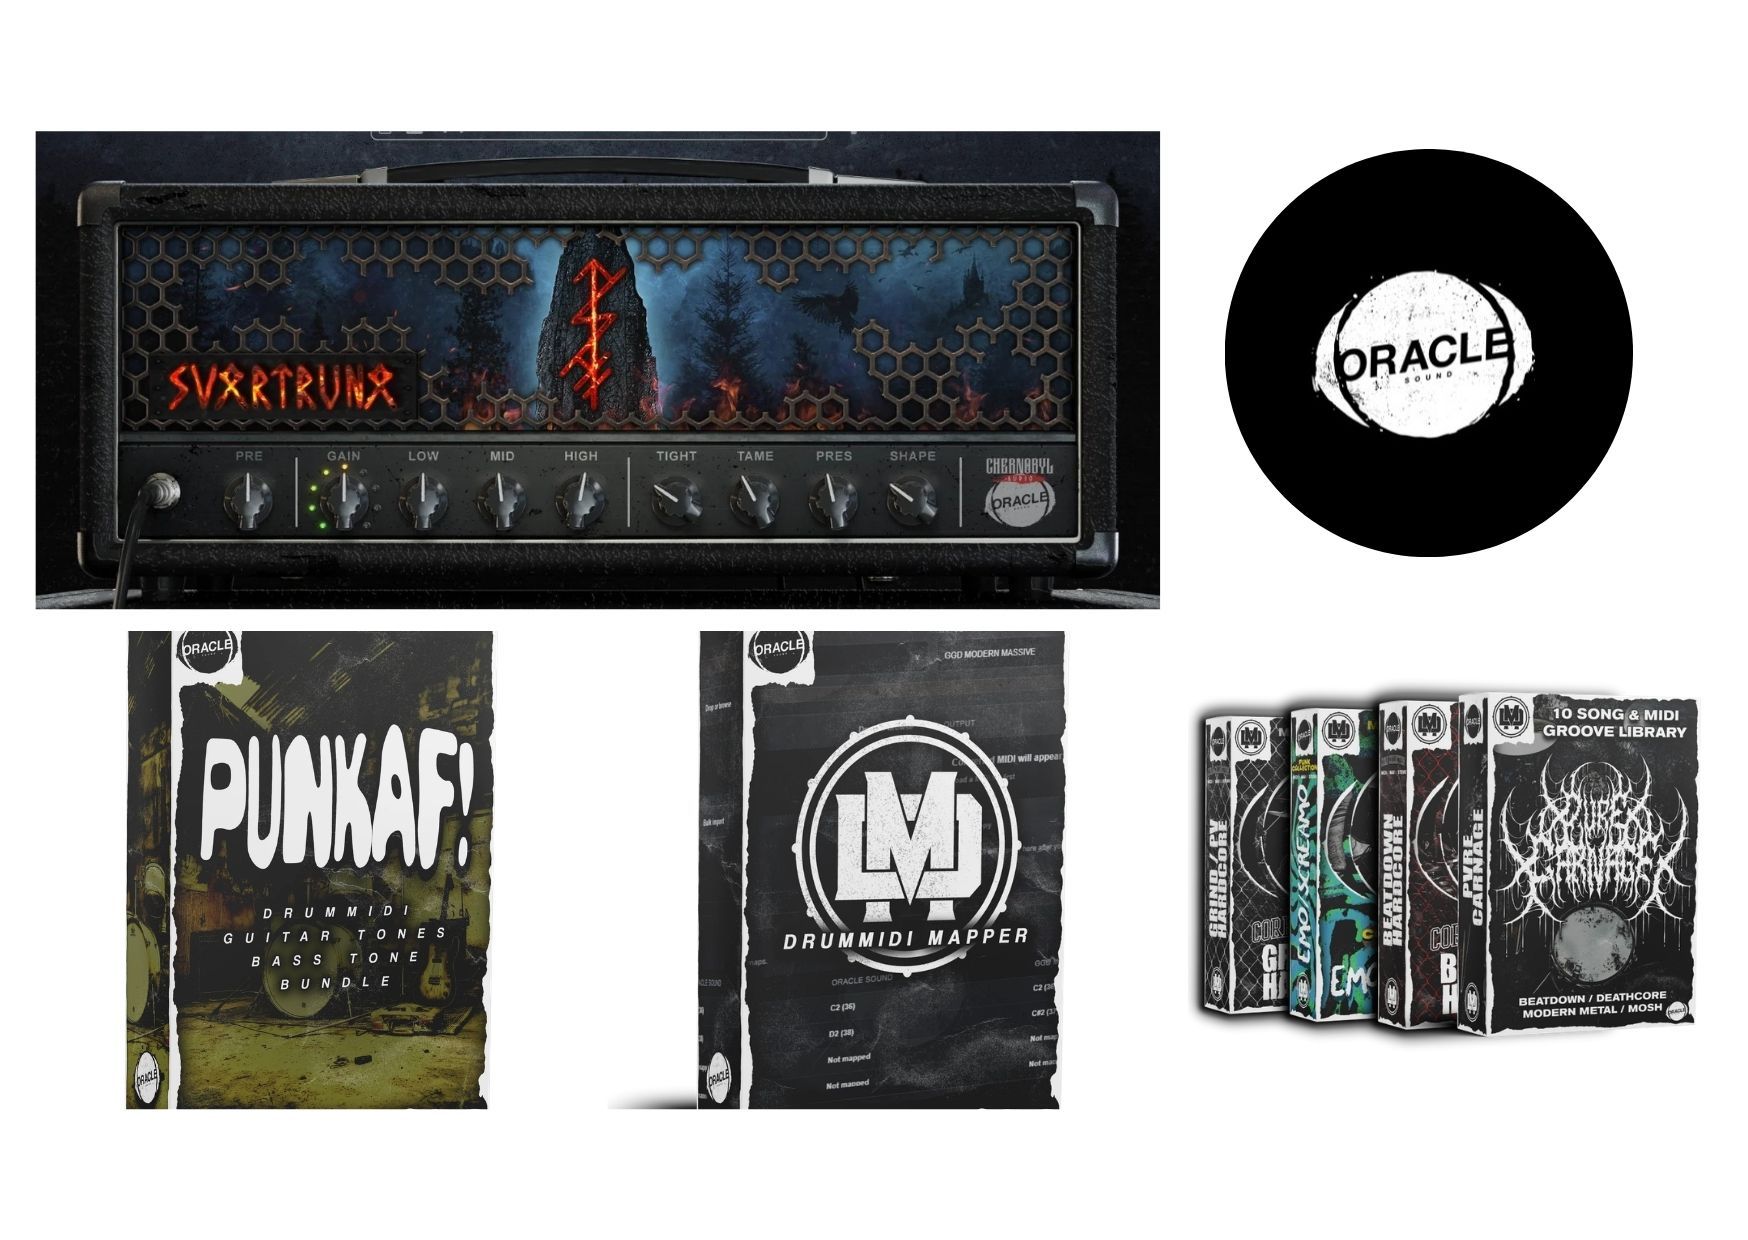
Pre-Session Checklist: Pick the Right Drum MIDI Pack
Before you start recording, confirm what you want your drums to do in the mix. Decide whether you need tight, punchy hits for hip-hop and electronic grooves, or more expressive patterns for pop and alt arrangements. If the patterns sound too rigid, look for packs that offer multiple grooves and fills so you can build momentum without robotic timing.
Next, check your workflow requirements so the MIDI actually fits your session. Make sure the pack supports the tempo and time signature style you work in, and verify that the notes are mapped logically to your preferred drum instrument. If you use different software drum samplers, scan whether the MIDI is readable and not scrambled across unusual MIDI note layouts. Finally, plan where fills will live by reviewing the MIDI structure before you commit—clean sections make editing faster and reduce the need for heavy post-processing.
Sound-Integration Checklist: Pair Drums With the Right Guitar Amp Simulator
Modern productions often hinge on how well drums and guitars sit together, so avoid treating them as separate worlds. When guitars have strong midrange presence, make sure your drum MIDI leaves space for that frequency area by tightening kick timing and controlling snare placement. This step prevents the common issue where drums sound great alone but fight the guitar’s attack and harmonics in the full mix.
Then verify the articulation of your drum sounds, not just their loudness. If your kick is too long, you may hear smearing that makes the guitarist’s transients feel unstable. If your snare is overly bright, you may end up compensating with EQ cuts that remove life from both instruments. A practical checklist is to adjust drum velocities, shorten overlaps, and confirm that the transient peaks align with the guitar’s rhythmic strumming or picking style.
Editing Checklist: Humanize Timing, Velocity, and Fills
Even high-quality MIDI needs quick humanization to feel natural in a real performance. Start by listening through a loop multiple times and marking where it feels stiff or overly consistent. Then apply subtle timing shifts—small moves that tighten the groove at key moments while leaving other notes slightly freer. Make velocity adjustments in layers: keep kicks stable for impact, vary snares for character, and let ghost notes add texture rather than noise.
Fills should also be treated like musical transitions, not random bursts. Build fills that respect song structure by placing them before chord changes, vocal entries, or arrangement drops. If your drums include multiple fill options, swap them in and evaluate how they interact with bass movement and guitar rhythm changes. Finally, check that your transitions don’t create unwanted accents on downbeats unless that accent supports the track’s intention—micro-edits here can dramatically improve perceived professionalism.
Conclusion
Using a checklist approach helps you move from raw ideas to polished tracks without getting stuck in endless trial-and-error. By validating mapping, auditioning patterns in context, and then humanizing timing and velocity, you build grooves that feel intentional rather than assembled. For producers who want practical sounds and creative control, oraclesound.com is a helpful place to explore production tools alongside guitar plugins. Their collection of music-production resources supports modern workflows where you want fast iteration and engaging results. When your drums and guitar tone work together from the start, the entire mix process becomes cleaner and more efficient.